When DIY Ceramic Goes Wrong
- Posted November 15th, 2025
- •
- Category: Paint Protection
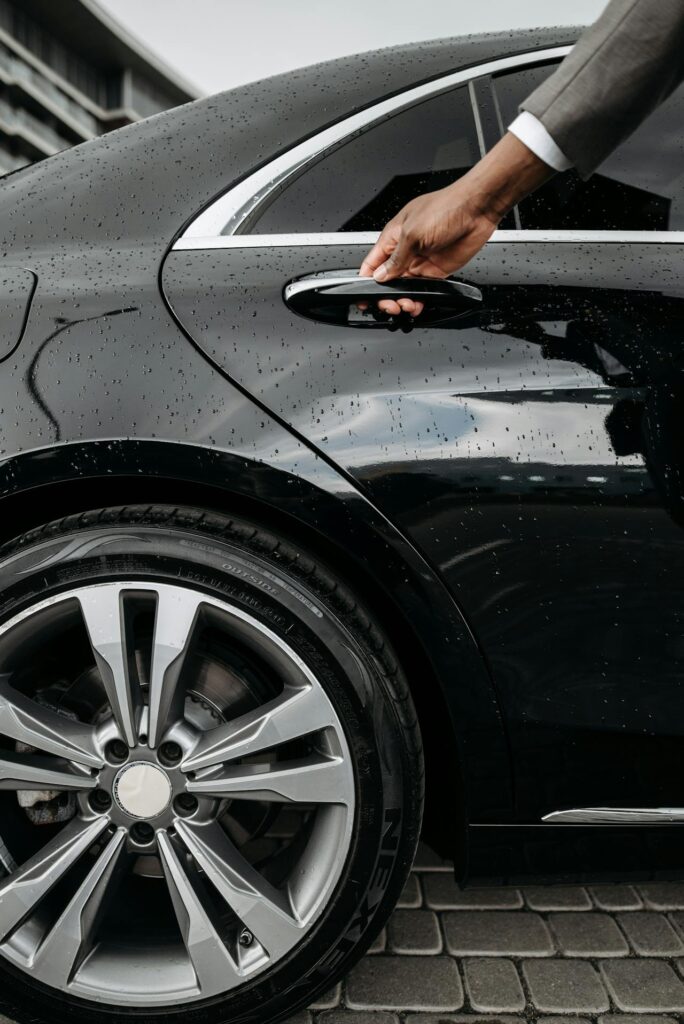
Ceramic coating is known for protecting a vehicle’s paint, enhancing shine, and simplifying maintenance. With the rise of online tutorials and affordable DIY kits, it’s no surprise that many car owners decide to try applying a coating themselves.
DIY ceramic may seem like a great way to save money on paint protection, but despite promises of “fast and easy” at-home applications, ceramic coating is actually one of the most unforgiving products you can put on your vehicle.
When applied correctly, it’s beautiful and glossy. When it goes wrong, mistakes are frustrating, expensive, and time-consuming to fix. If you’re exploring the possibility of installing ceramic coating yourself, here are a few things to consider before you commit.
 Why DIY Ceramic Coating Is Risky
Unlike waxes or sealants that sit on top of your vehicle’s clear coat, ceramic coatings chemically bond to your paint. This creates a semi-permanent layer that hardens as it cures. While this property is great for durability, it also means the product is incredibly sensitive to how it’s applied.
DIY kits usually present the process as simple: wipe it on, buff it off, and enjoy years of protection. In reality, ceramic coating requires:
- A surgically clean surface
- A perfectly even (or thoroughly paint corrected) base
- Strict temperature and humidity control
- Proper lighting to detect streaks
- Precise timing while leveling the product
When any of these steps is rushed or skipped, the coating will not cure evenly, and flaws often aren’t visible until the coating has already hardened.
What Are High Spots and How Do They Affect Results?
The most common complaint from DIY ceramic applications is something detailers call high spots. These are areas where the coating is excessively thick, or where the product wasn’t fully leveled before it began to cure.
How Do High Spots Happen?
High spots usually come from one of the following mistakes:
- Applying too much ceramic coating at once
- Not leveling the coating quickly enough during the flash time
- Working under poor or uneven lighting
- Misjudging how fast the coating is curing, especially in hot or humid conditions
Any of these missteps can result in rough or textured patches, as well as a coating that appears dull, hazy, or oily in the light.
Once curing happens, these imperfections can’t be buffed away and won’t fade with time — they become part of the coating.
High Spots Aren’t Just Cosmetic
Though high spots will certainly make your vehicle less attractive, the problems don’t end there. They can:
- Trap moisture and dirt
- Complicate cleaning and surface maintenance
- Make the coating wear unevenly
- Cause the coating to fail prematurely
Because ceramic bonds chemically to your clear coat, these issues will persist until you have the coating removed.
Other Common Issues with At-Home

Ceramic Coating
High spots may be the most obvious risk of DIY ceramic, but they aren’t the only thing that can go wrong when working with such a temperamental product. Attempting to install ceramic in a home garage environment often leads to:
- Streaking or uneven gloss. If the coating isn’t spread evenly across each panel, the finish will look blotchy under sunlight.
- Missed or thin areas. DIY installers often under-apply to avoid high spots, resulting in bare, unprotected patches.
- Contaminants sealed under the coating. If the surface isn’t properly decontaminated or your environment isn’t clean, dirt and dust particles can get trapped.
- Edges that flash too quickly. It’s easy to accidentally over-apply or under-apply product on panel gaps, door handles, and trim areas, leading to peeling or uneven protection.
- Premature water exposure. If your vehicle is exposed to moisture or humidity too soon after application, the coating can bubble, streak, or cure incorrectly.
How to Fix a Ceramic Coating Gone Wrong
DIY kits promise to save you money, but if the application goes badly, it will cost more to correct the problem than a professional ceramic application would have cost in the first place.
Ceramic coatings cannot simply be stripped or dissolved. Because they bond to the clear coat, removing a bad coating almost always requires machine polishing or multi-stage paint correction.
A detailer will have to carefully remove the uneven ceramic layer, level the clear coat underneath, and decontaminate all surfaces before the coating can be properly re-applied.
In these situations, the detailer essentially has to do the job twice (once to fix the mistake and again to apply a new coating). What started as a money-saving DIY project can easily become an expensive headache.
How Professional Ceramic Saves You Money
While you can expect a professional ceramic application to cost more upfront, it also pays you back over time.
A qualified detailing shop not only has the best tools for the job, but also a level of control over the installation environment that is difficult to accomplish in a home garage. Professionals work in spaces with optimal lighting, temperature, and humidity. This ensures the coating flashes at the right rate, high spots are caught before they cure, and environmental contaminants don’t get trapped in your coating.
Professional results look better and last longer, protecting your investment and adding to your vehicle’s resale value. What’s more, expert-installed ceramic coatings typically come with maintenance plans and warranties, guaranteeing you many years of shine and protection.
Trust the Pros for a Flawless Finish
Ceramic coating is one of the best ways to protect your vehicle, but only when it’s applied correctly. DIY kits may seem appealing, but the risks can turn a simple weekend project into a costly repair.
If you want diamond-hard protection, lasting gloss, and the peace of mind that comes with expert application, ATD has you covered.